Materials needed:
*Unfinished wooden frame (local craft store like Michael's or Hobby Lobby)
*scrapbook paper
*Mod Podge
*Acrylic paint
*foam paint brush
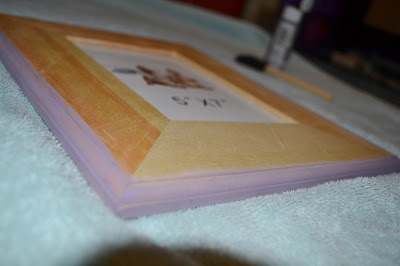
First, you need to paint the edges of your unfinished wood picture frame. Allow that to dry.
Next, choose 4 corners of your scrapbook paper. These will be the 4 corners of your picture frame. Tear them into bigger pieces, leaving the corners in tact so they fit into the corners of your frame.
Use Mod Podge UNDER and on top of the scraps.
Continue tearing your scrapbook paper using the straight edges to line up on the edges of the frame. Again, mod podge under and on top of your paper.
Continue using the edges of your paper to complete the edges of the frame.
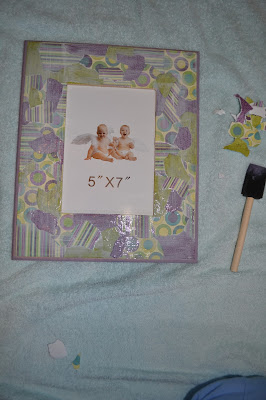
Use the rest of your scrapbook paper to layer, and fill in the remaining blank spots on your frame. There is NO wrong way to do it!
Layering paper (below)
After you have all your blank spaces filled up, add another full coat of mod podge over the entirety of the project. This ensures no corners are sticking up, which could result in curling of your scrapbook paper.
After it dries, add any embellishments you would like! Here, I used handmade rolled rosettes, and a few stick on pearls for the corners.
Others I completed:
Hope you all enjoy this project as much as I did!
Happy crafting! :)


No comments:
Post a Comment